My C6 Audio Install
 01-18-2010, 09:51 AM
#41
Racer


Member Since: Aug 2008
Location: Sterling Heights MI
Posts: 402
Likes: 0
Received 0 Likes
on
0 Posts
I really appreciate your kind answers to my questions. 
Looks like you're having a lot of fun installing the audio equipments now.
Please keep us updated, as I'm VERY interested in how this project turns out!
Thanks again!
Dan
Looks like you're having a lot of fun installing the audio equipments now.
Please keep us updated, as I'm VERY interested in how this project turns out!
Thanks again!
Dan
 01-18-2010, 03:51 PM
#42
Instructor


Where are you grounding your amplifier(s)? Any issues with ground loops (alternator whine)? I have a similar configuration with the GMCO and seem to be haunted by a ground loop - moved the amp grounds from the passenger seat bolt to the factory ground point right behind the passenger seat near the seatbelt retraction mechanism, still have the ground loop. Making me crazy - temporarily put in a ground loop isolator and turned down the gain on the amps, but that is just hiding the problem.
Curious to see if you have had the same issue or not.
BTW - I have madvette's sound deadining kit, didn't work very well. I think the best option is to go to the Michelin PS tires (did that on my C5, huge difference), they are just soooo expensive right now (z06).
Best of luck.
Curious to see if you have had the same issue or not.
BTW - I have madvette's sound deadining kit, didn't work very well. I think the best option is to go to the Michelin PS tires (did that on my C5, huge difference), they are just soooo expensive right now (z06).
Best of luck.
01-19-2010, 09:21 AM
#43
Racer
Thread Starter
Where are you grounding your amplifier(s)? Any issues with ground loops (alternator whine)? I have a similar configuration with the GMCO and seem to be haunted by a ground loop - moved the amp grounds from the passenger seat bolt to the factory ground point right behind the passenger seat near the seatbelt retraction mechanism, still have the ground loop. Making me crazy - temporarily put in a ground loop isolator and turned down the gain on the amps, but that is just hiding the problem.
Curious to see if you have had the same issue or not.
BTW - I have madvette's sound deadining kit, didn't work very well. I think the best option is to go to the Michelin PS tires (did that on my C5, huge difference), they are just soooo expensive right now (z06).
Best of luck.
Curious to see if you have had the same issue or not.
BTW - I have madvette's sound deadining kit, didn't work very well. I think the best option is to go to the Michelin PS tires (did that on my C5, huge difference), they are just soooo expensive right now (z06).
Best of luck.
As for the foil kit, I think of it more as a heat insulator, not noise insulator. I used MLV for noise insulation. I should be able to bolt of the seat tomorrow and hopefully take a car for a spin soon. It's been raining like mad here in so cal.
01-20-2010, 01:55 PM
#44
Racer
Thread Starter
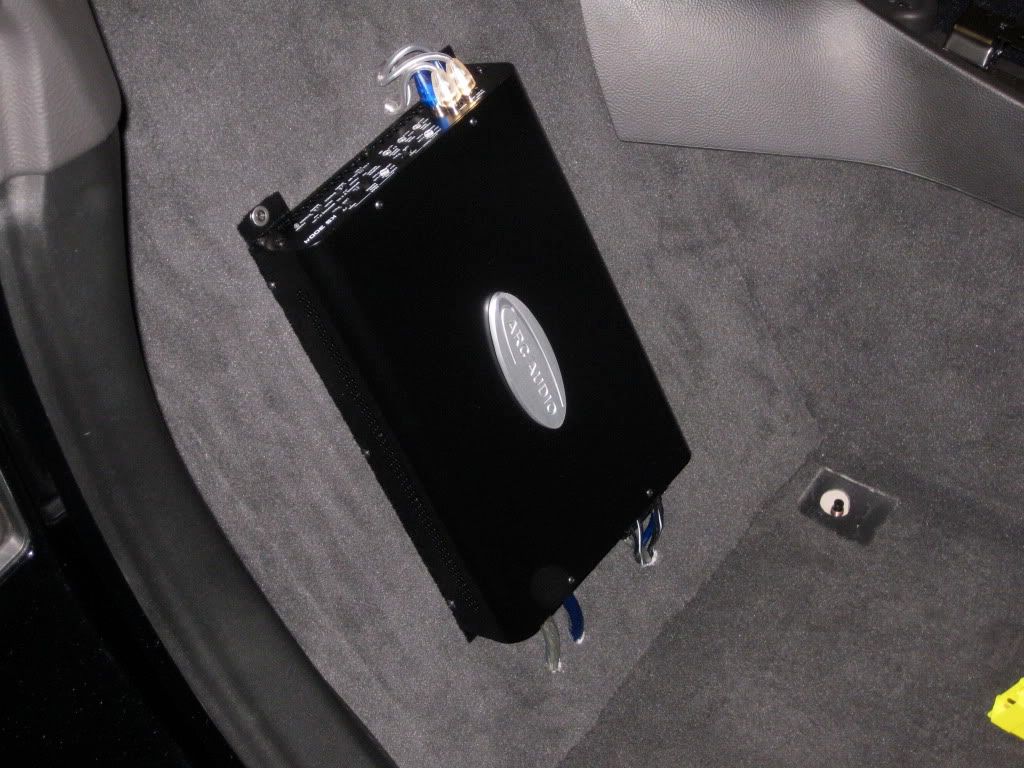
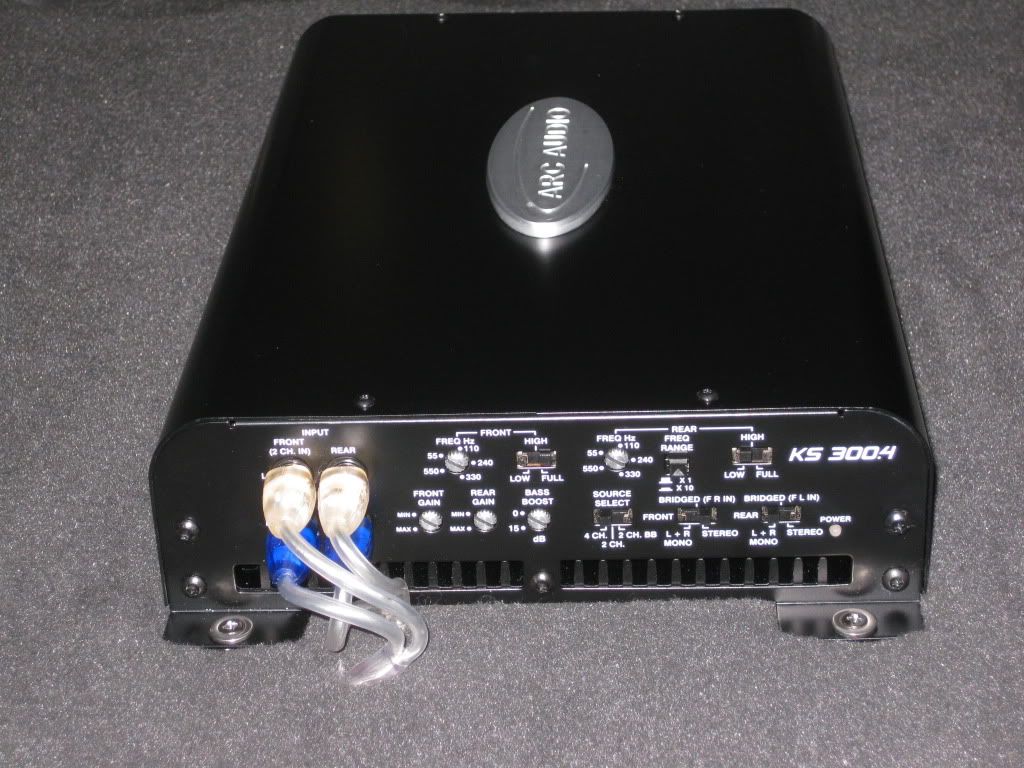
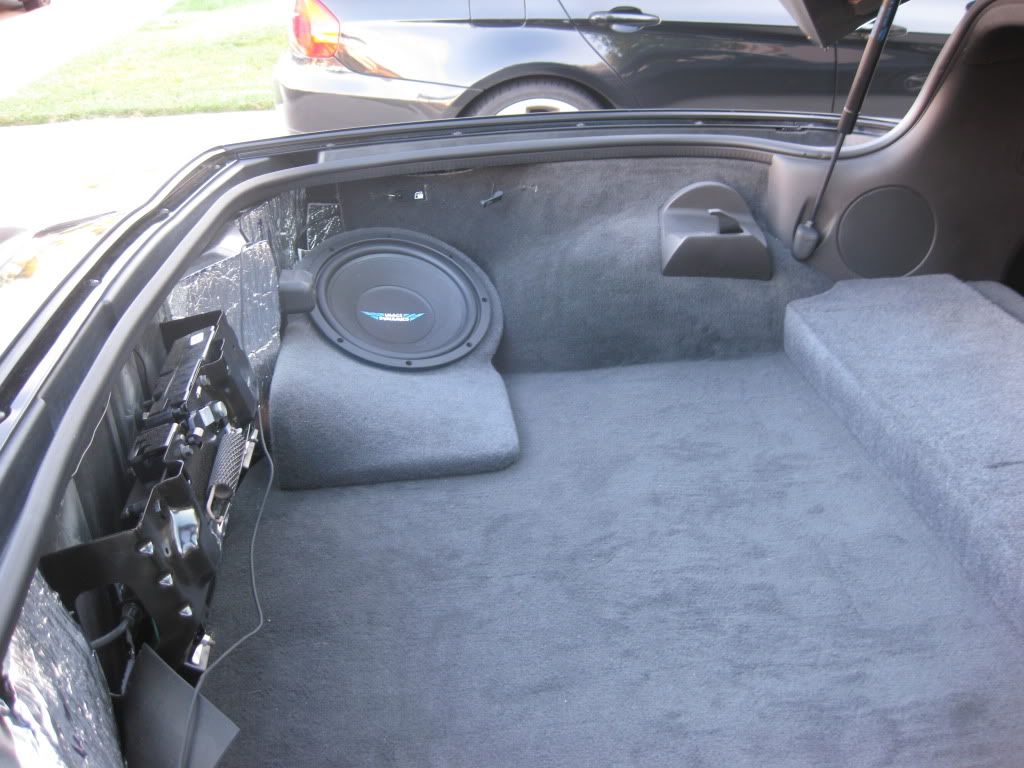
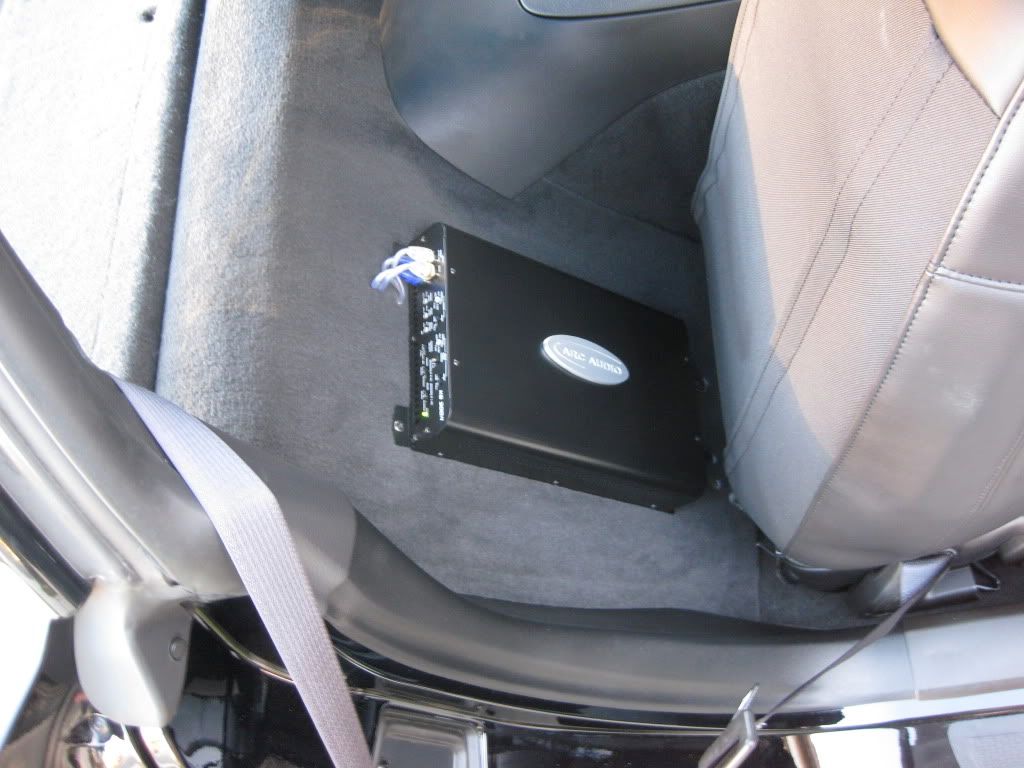
A lot of late work meetings this week. But I was able to get the amp (Arc Audio 300.4) mounted behind the passenger seat. I silicone glued two 3 1/2" x 1/2" strips of wood behind the passenger wall to mount the amp. Feels pretty secured and I like the way it looks. Hopefully won't have any problems bolting the seat back.
Still deciding how to running the other misc wires (radar detector, rear view camera, and mic) prior to bolting everything back up.
Still deciding how to running the other misc wires (radar detector, rear view camera, and mic) prior to bolting everything back up.
01-20-2010, 09:34 PM
#45
Heel & Toe

Member Since: Nov 2006
Posts: 21
Likes: 0
Received 0 Likes
on
0 Posts
I want to complement your thorough and well thought install. I've made a pretty good living for 23 years now installing custom 12v systems and it's been awhile since I've seen someone do such a great job! Pat yourself on the back. 69r
01-25-2010, 02:30 PM
#46
Racer
Thread Starter
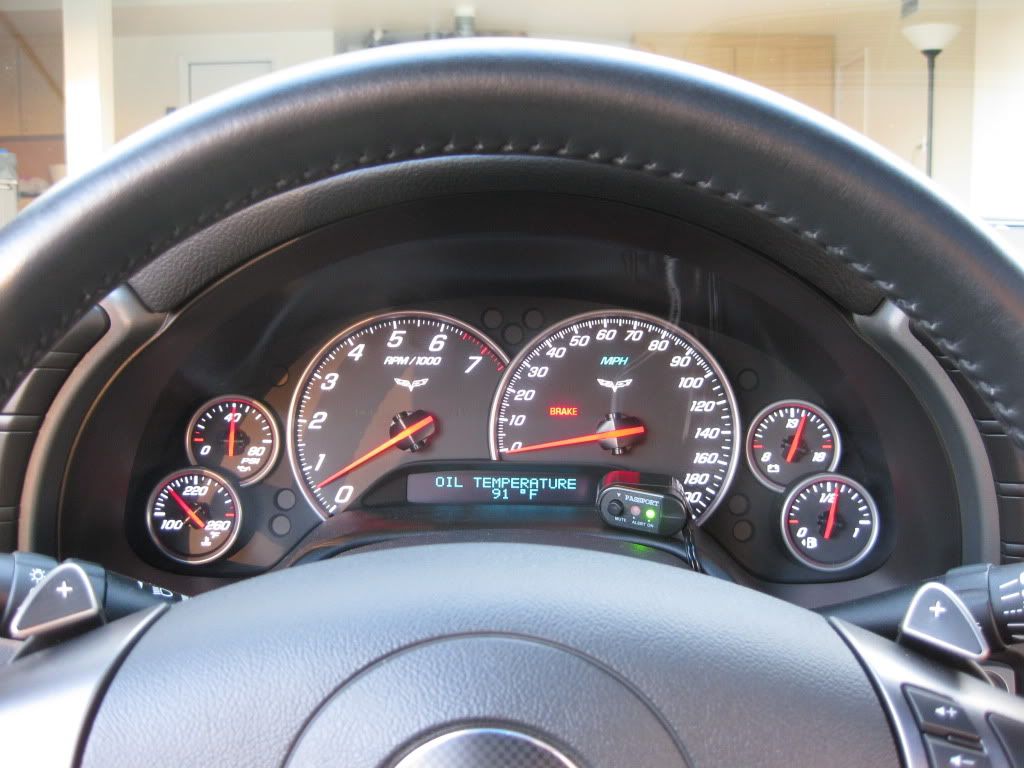
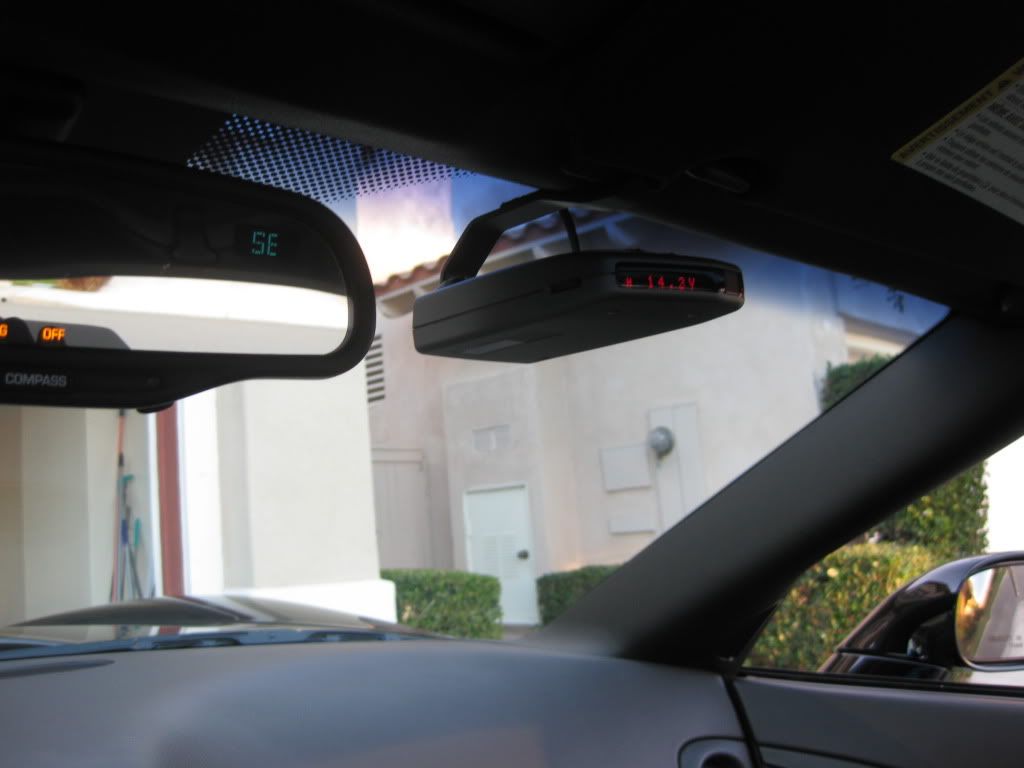
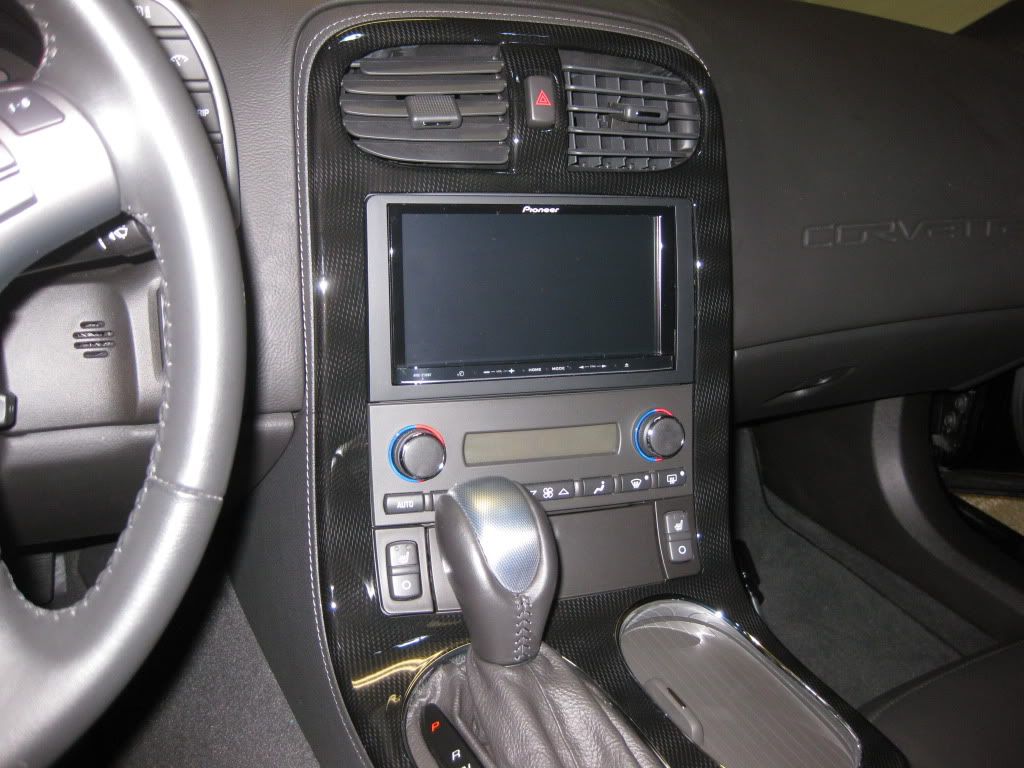
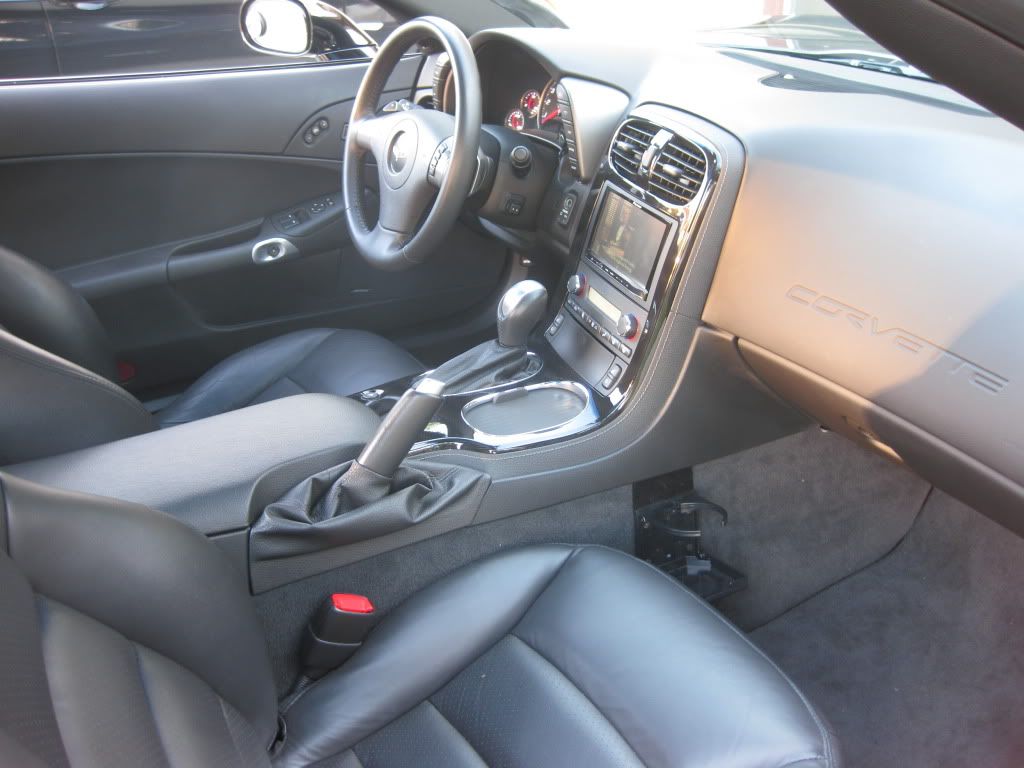
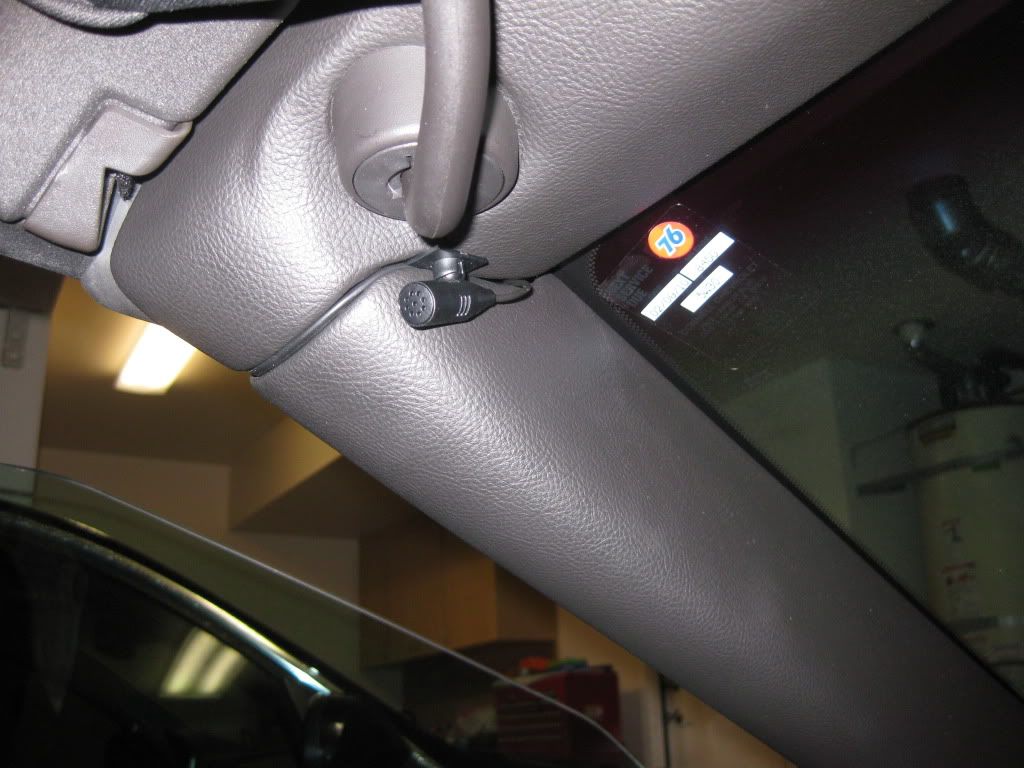
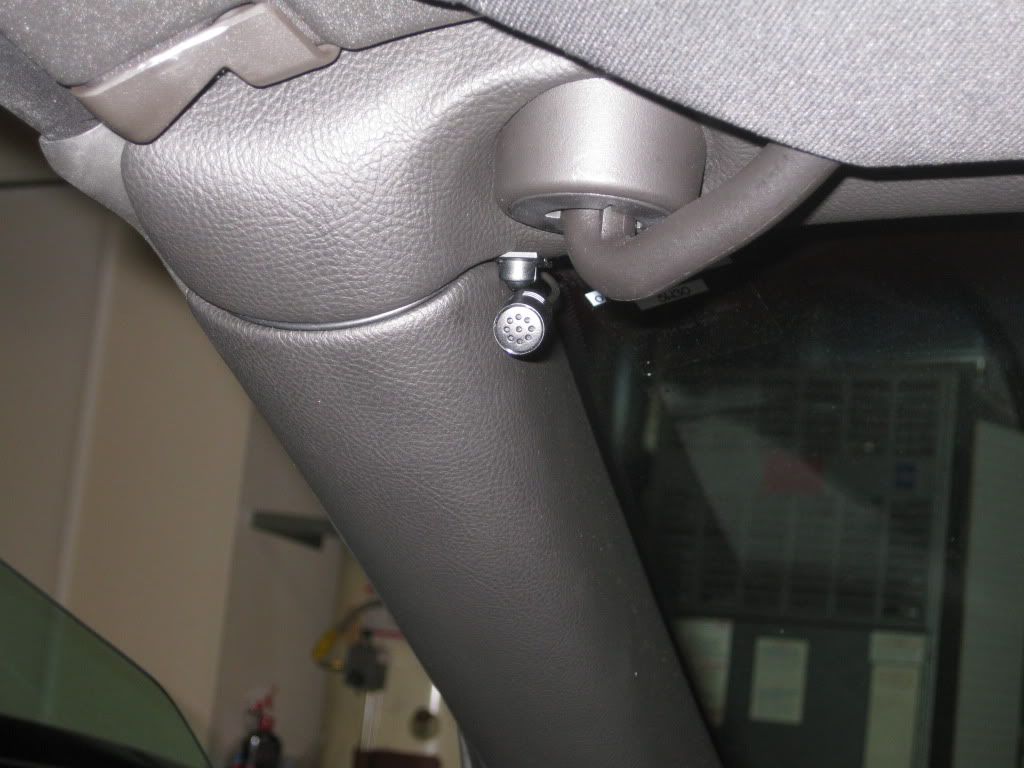
Right now I'm on my last stage of the install. I put all the stereo related stuffs together this weekend with the exception of the rearview camera. Prior to putting the front radio console together I hardwired the Passport detector, ran the microphone to the left pillar, and finally ran the ipod wire into the center armrest compartment.


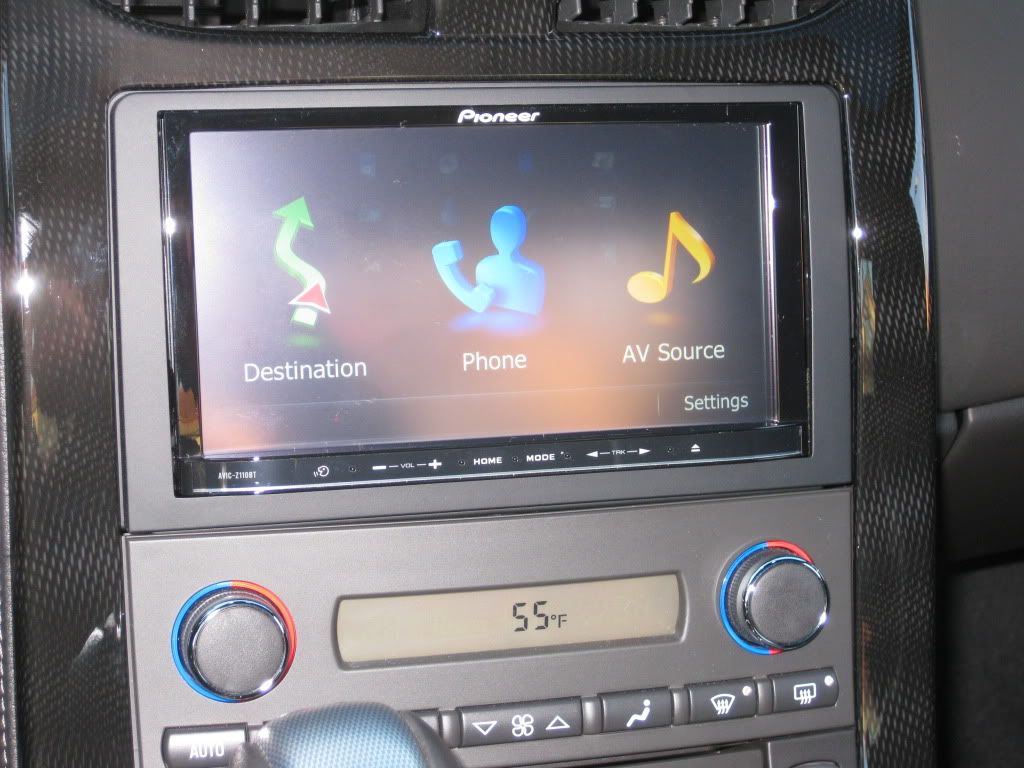
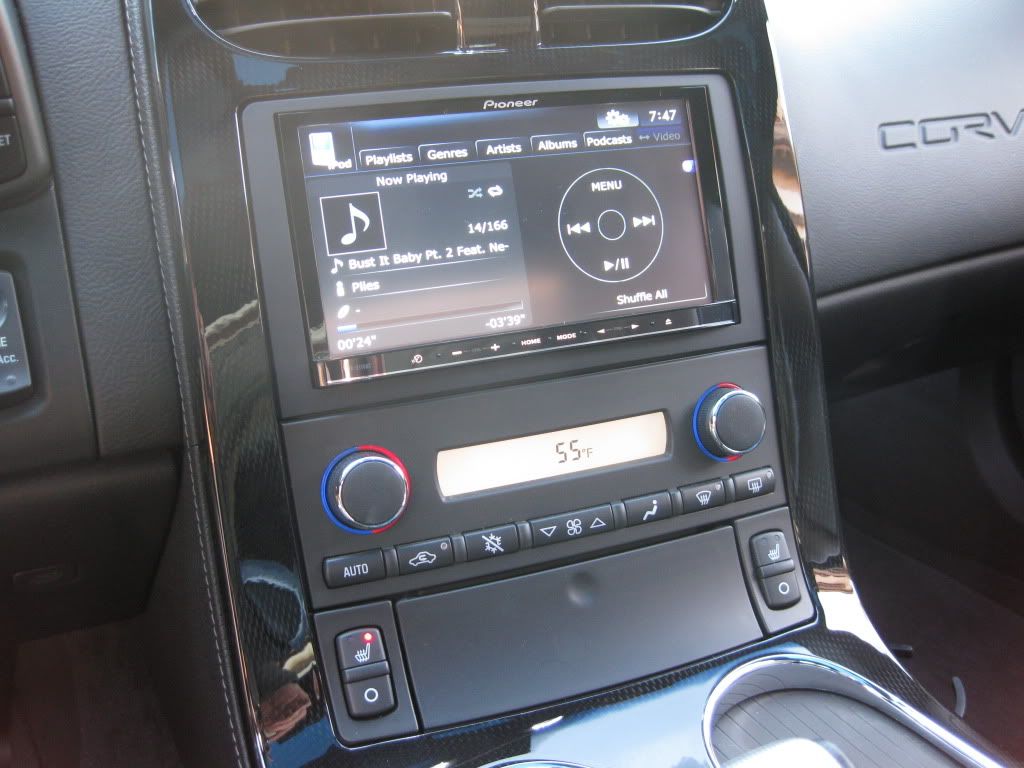
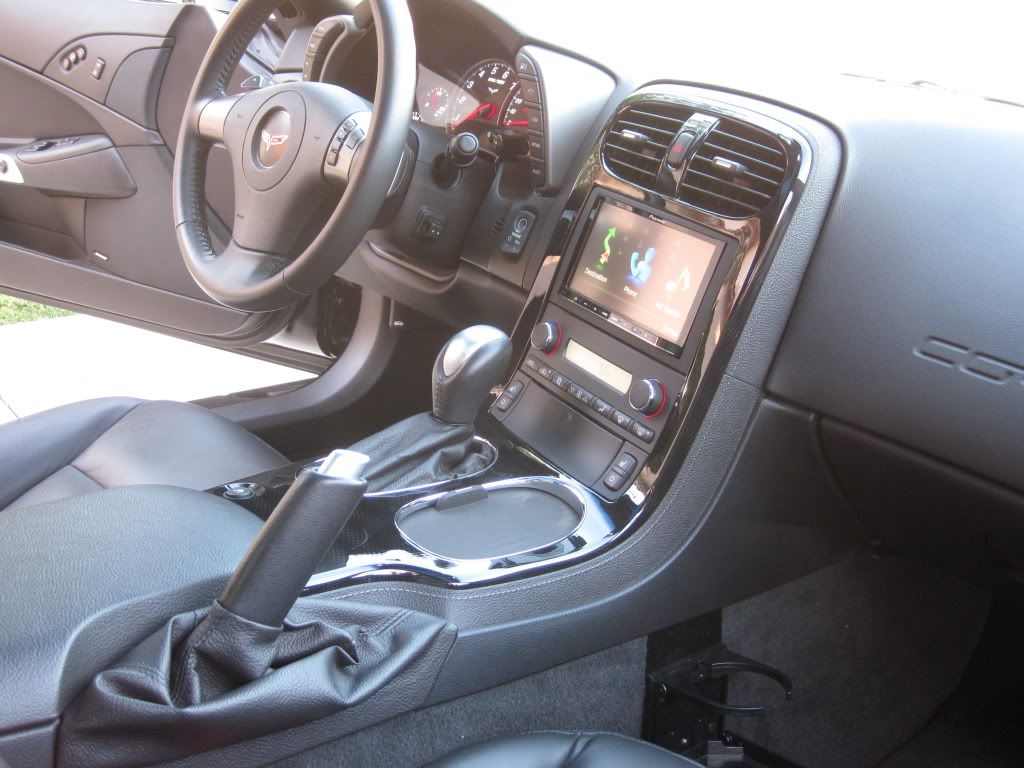
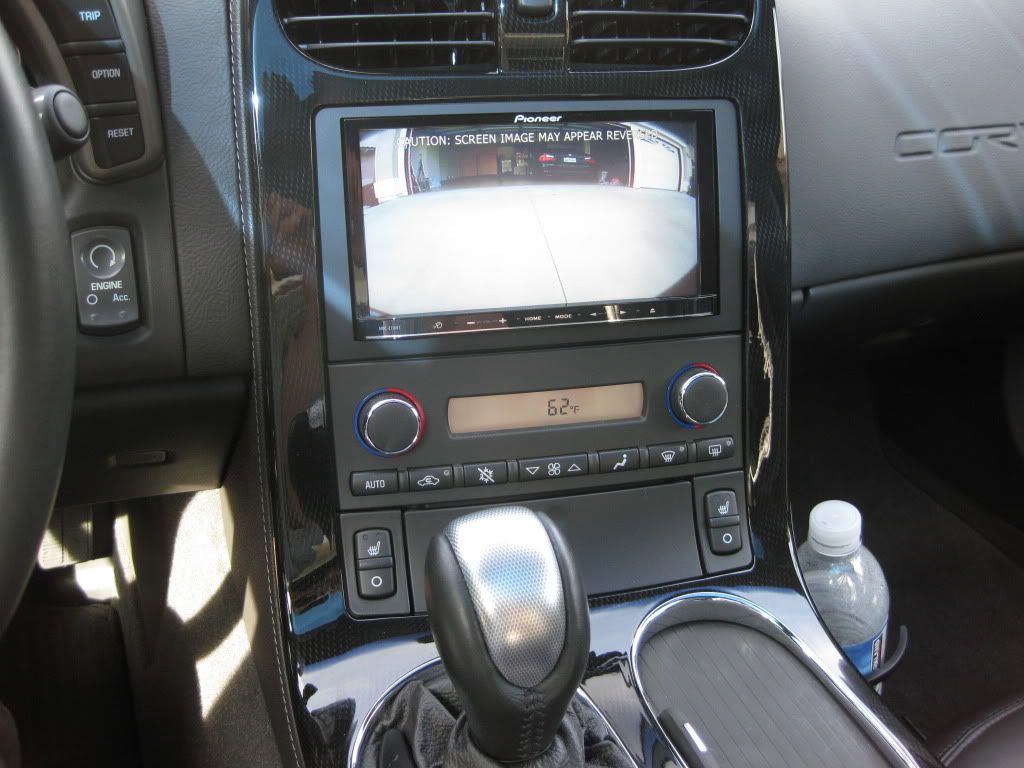
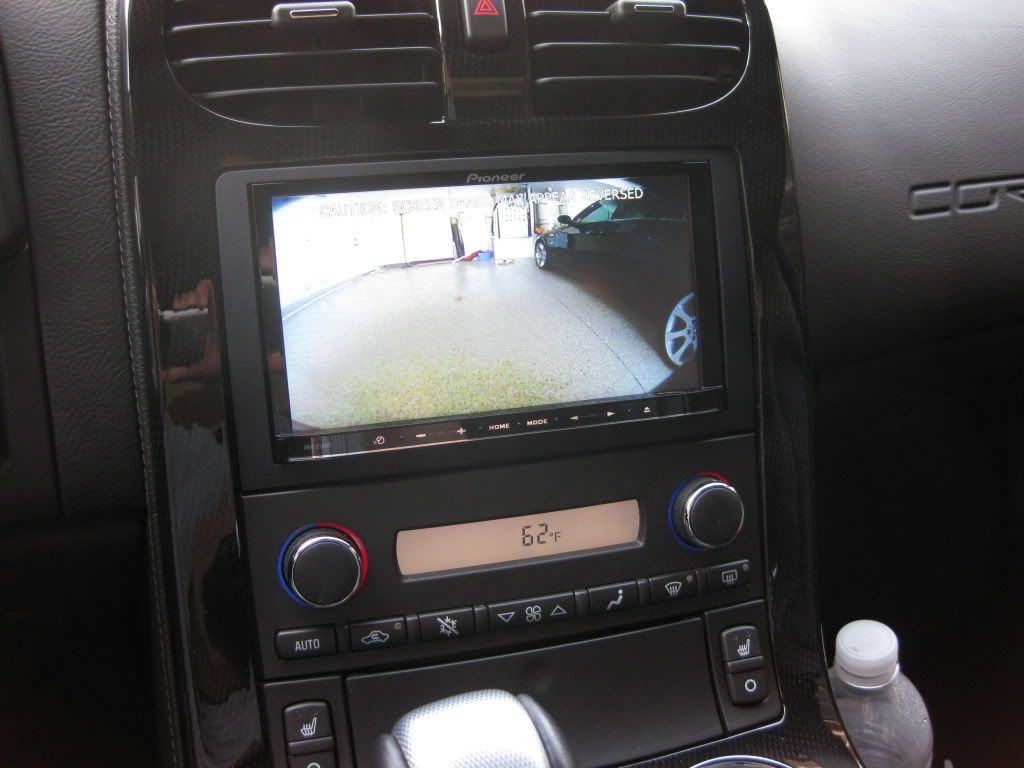
Now the finished product!

I used this opportunity to upgrade to the carbon fiber '08 front radio console. I love the way it looks.
And here are the rest of the install with the exception of the back wall trunk panel since I'm working on mounting the rearview camera. I put the crossovers in the driver's vette bin cubbie. I want everything out of sight as much as possible.


You probably want to know how this thing sounds. Absolutely amazing compared to what I've been used to. Now that's even before it's being tuned. I'm still gathering information on how to tune this system. I'll give it a week for the system to break in and I will start tuning it. Tuning probably deserves its own thread so I'll start that. So far I love the sound. The bass hits hard and the highs are clean and crisp. There are absolutely no interior panel vibrations at all.
The steering wheel radio control works flawlessly and without delay. When I installed the SWI-PS I ran it into the the glove box and velcro it to the roof of the glove box. This is just in case I change my mind about which buttons to use for what. I can change it without taking everything apart.
Now what about the sound insulation you ask? Well I took her for a drive and to be honest I don't remember what this car sounds like before since it's been 3 weeks since I've driven her. Also the back wall has not been put back together so I don't know if that might affect the results. I do hear a lot of wind noise now. I remember a couple interior panel buzzes and they are all gone. Every time I hit a bump the car has a more solid thump to it now. But quantitatively I cannot put a number now how much improvement the sound insulation has made. I took my BMW and drove it back to back with the Vette and I can say the BMW is quieter. Before I thought the BMW was a lot quieter. I think the only way to truly measure the improvement would be to drive to the car back to back with another vette.
Later this week I'll post more thoughts on this install and what I might have done differently. It's been fun.
01-25-2010, 05:23 PM
#47
Melting Slicks

Awesome install! You did a great job. It makes me want to get out there and start on mine.
I have a couple of questions for you.
Do you have a picture of the mic install?
What did you paint the speaker plates with?
Did you seal the Madvette box in any way or did you install it as is?
Thanks,
Dave
I have a couple of questions for you.
Do you have a picture of the mic install?
What did you paint the speaker plates with?
Did you seal the Madvette box in any way or did you install it as is?
Thanks,
Dave
01-26-2010, 11:34 PM
#48
Racer
Thread Starter
Awesome install! You did a great job. It makes me want to get out there and start on mine.
I have a couple of questions for you.
Do you have a picture of the mic install?
What did you paint the speaker plates with?
Did you seal the Madvette box in any way or did you install it as is?
Thanks,
Dave
I have a couple of questions for you.
Do you have a picture of the mic install?
What did you paint the speaker plates with?
Did you seal the Madvette box in any way or did you install it as is?
Thanks,
Dave
With the speaker plates, I just grab a $5 flat black paint can from Home Depot.
As for the Madvette box, I do not quite understand what you're referring to. I thought the box is already sealed. I see glue inside the box so just assumed it's sealed. If you haven't order the Madvette box or anything else from them. I suggest you get it from someone else. They have the worse customer service and the slowest shipping time ever.
 01-27-2010, 08:36 AM
#50
Melting Slicks
As for the Madvette box, I do not quite understand what you're referring to. I thought the box is already sealed. I see glue inside the box so just assumed it's sealed. If you haven't order the Madvette box or anything else from them. I suggest you get it from someone else. They have the worse customer service and the slowest shipping time ever.
01-30-2010, 03:29 PM
#51
Racer
Thread Starter
Well, the system is official done! I started this exactly a month ago and mostly worked on it during the weekends. I'm happy to say she's finished. Would I ever do this again if I had the chance? ABSOLUTELY! It's been a lot of fun and I'm glad I did it.
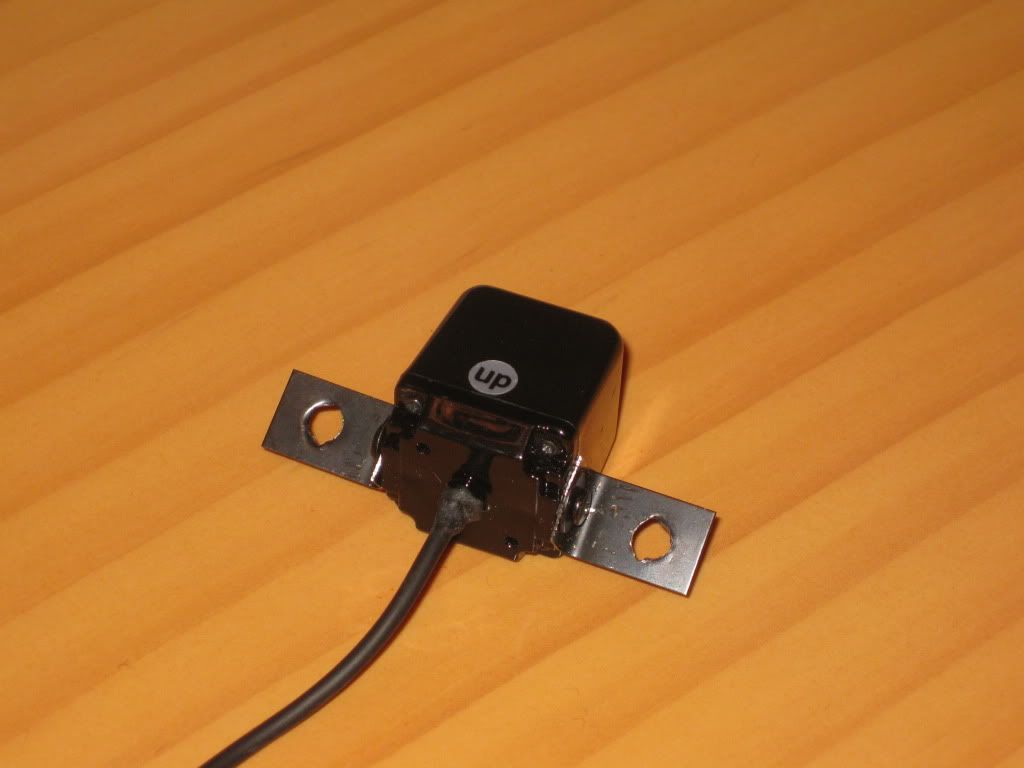
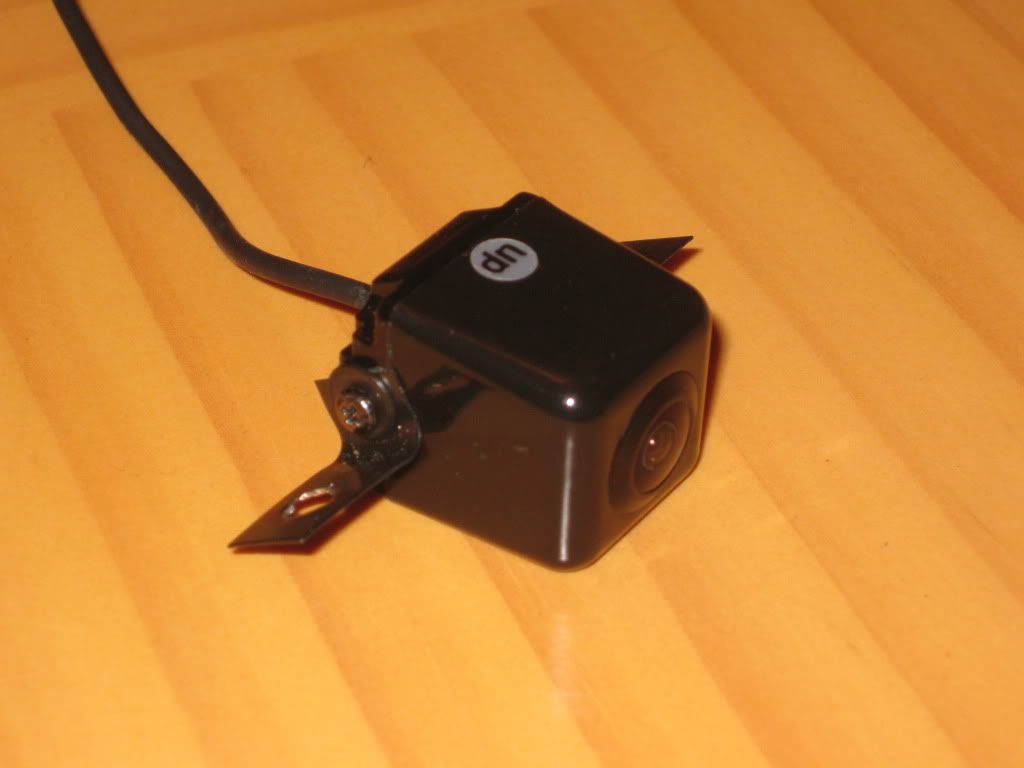
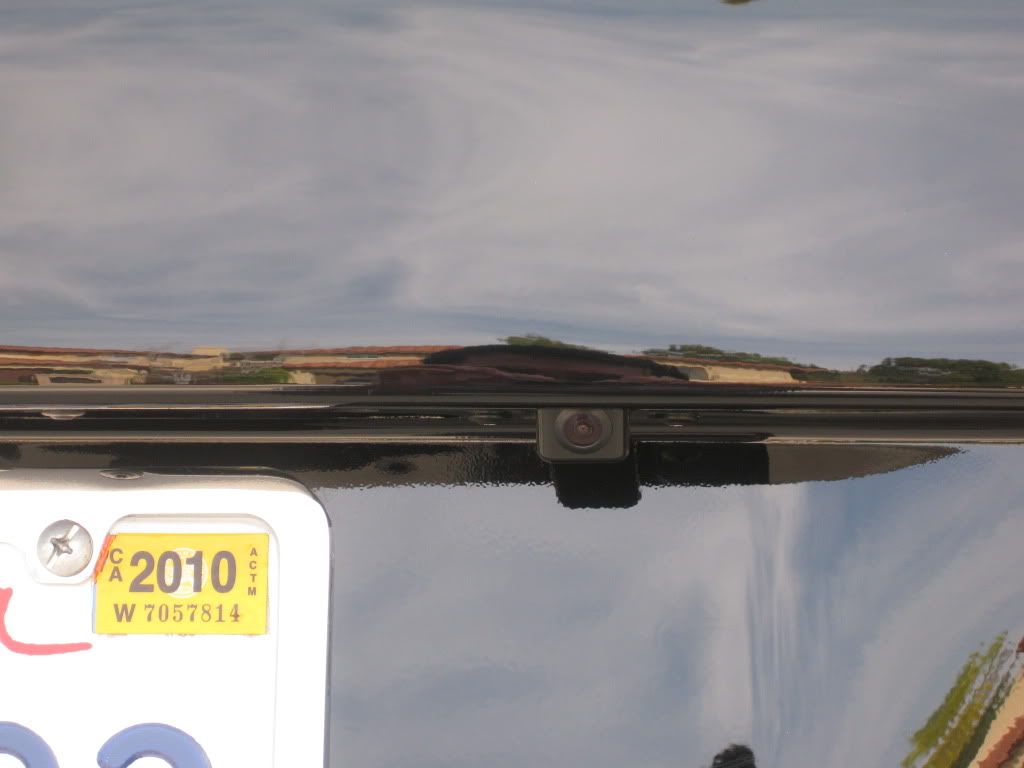
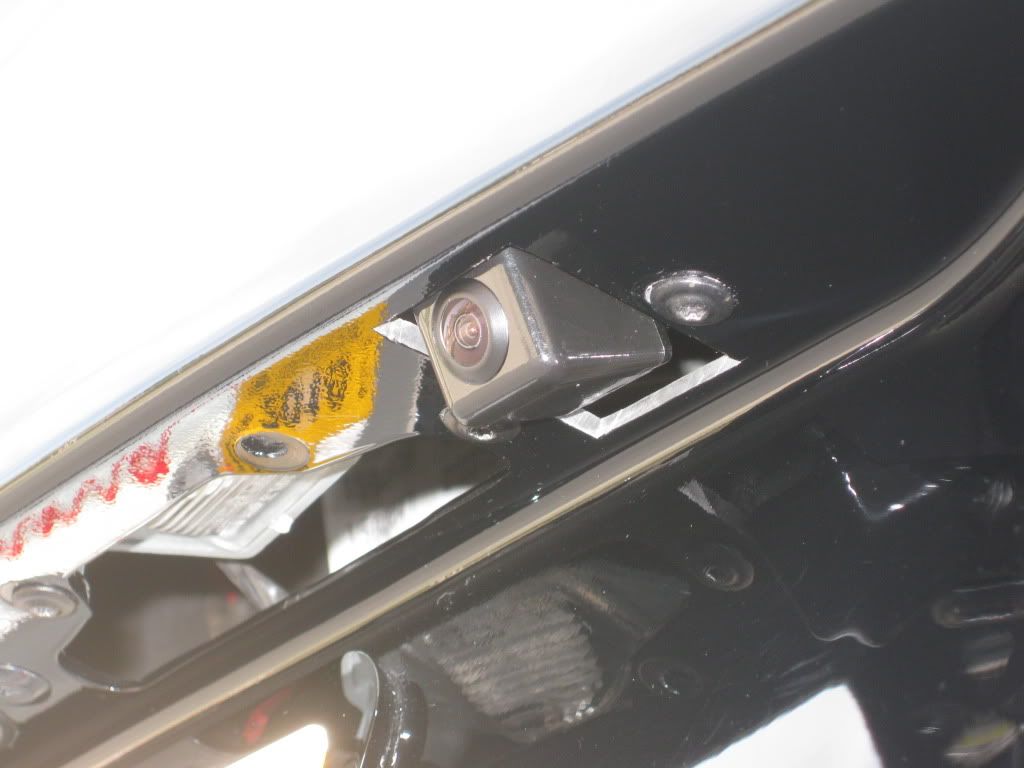
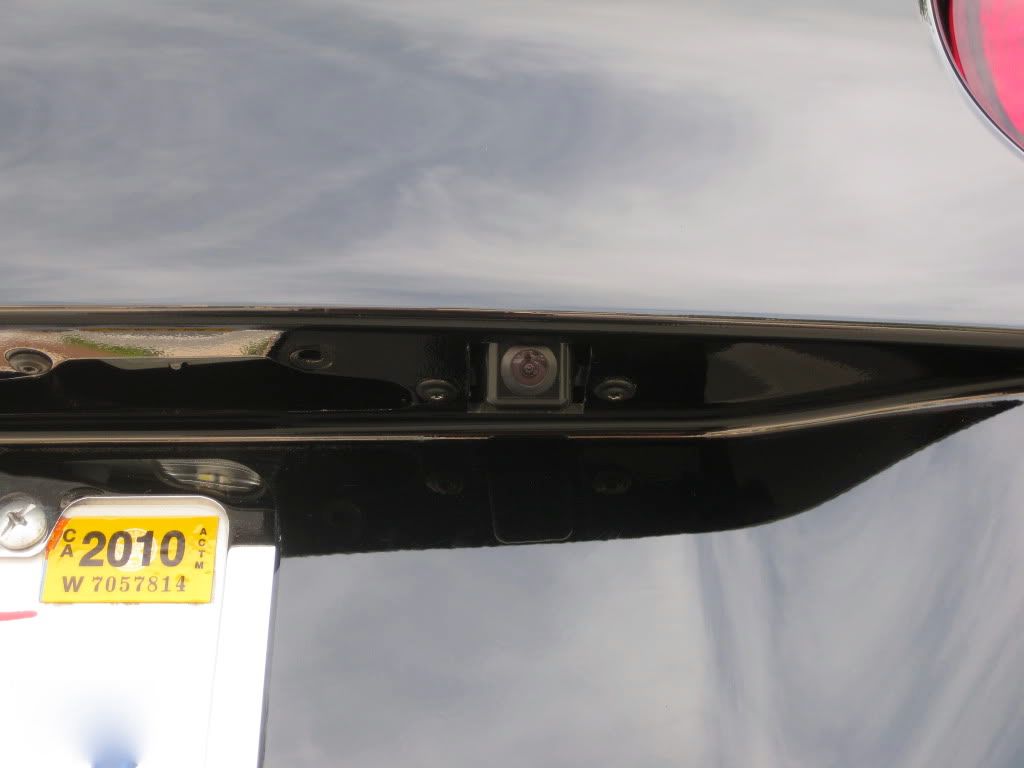
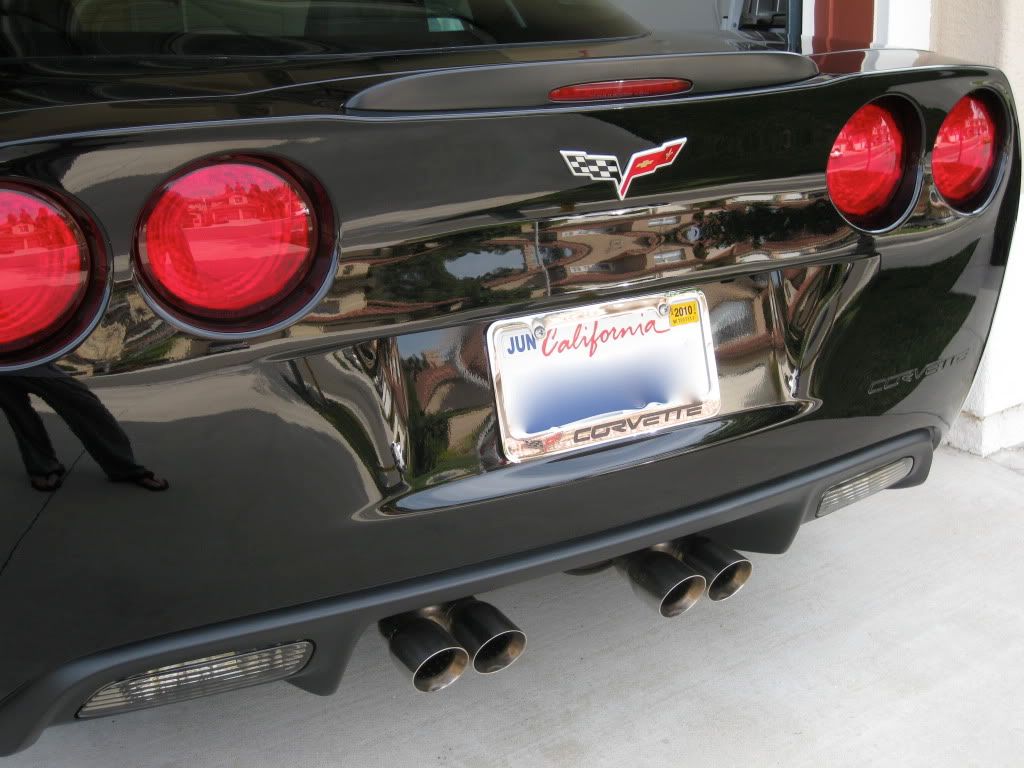
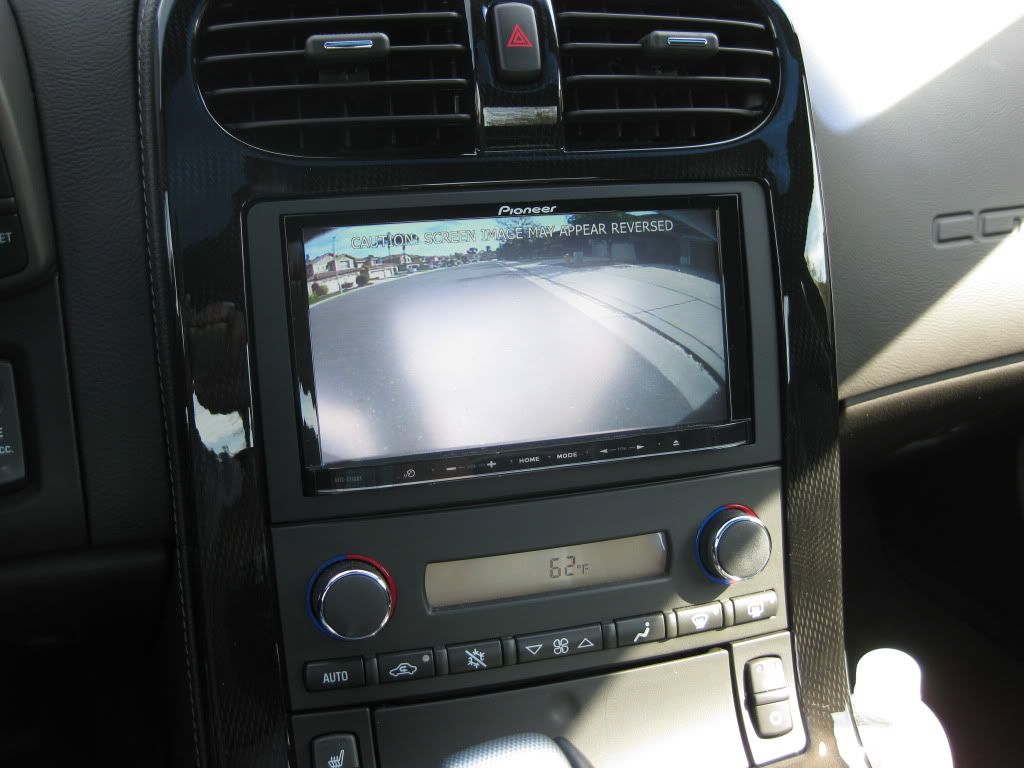
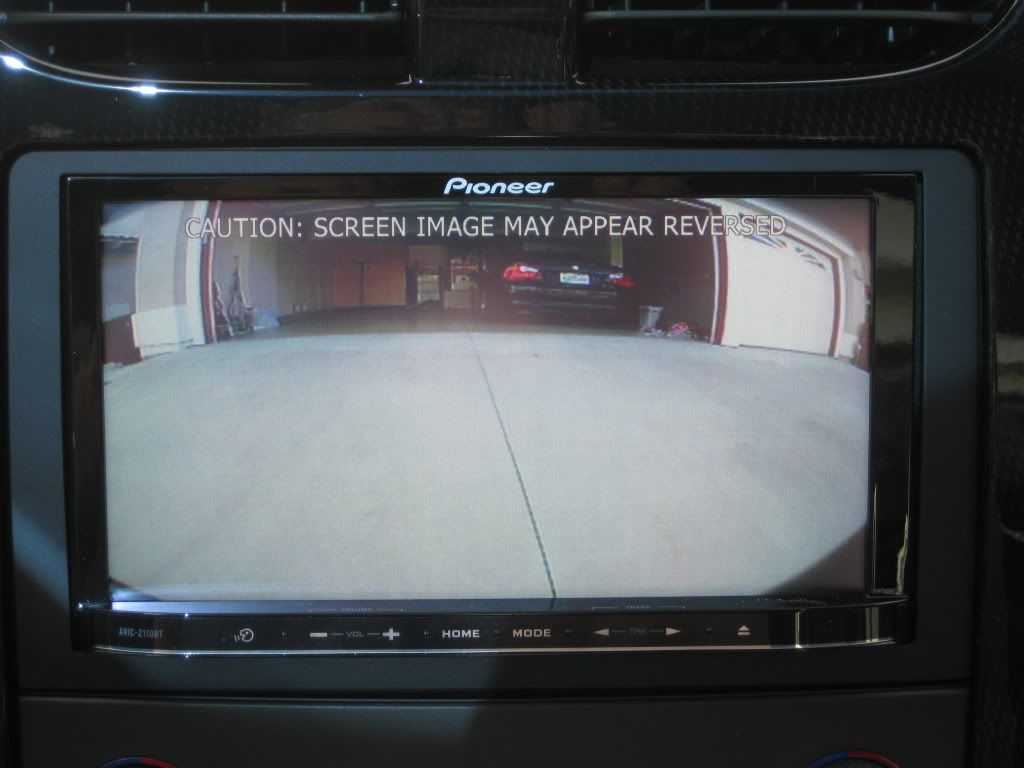
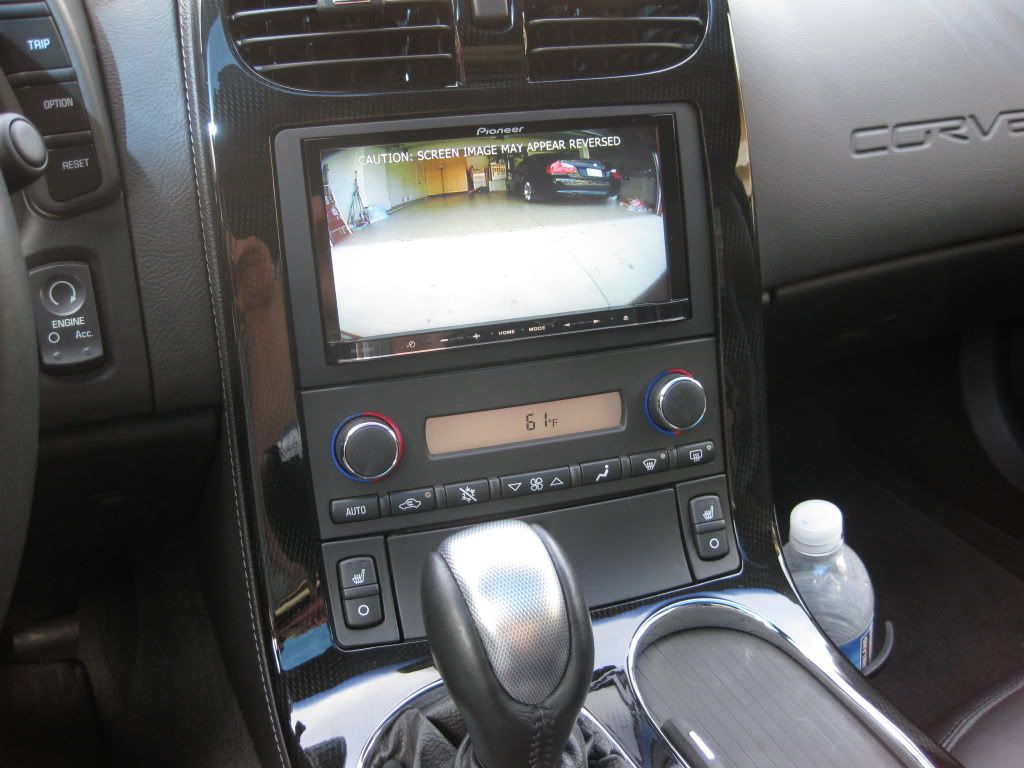
The last thing I did was installing the rearview camera. Originally I was thinking about one of those license plate camera but I changed my mind and wanted something more OEM. So this is what I did.
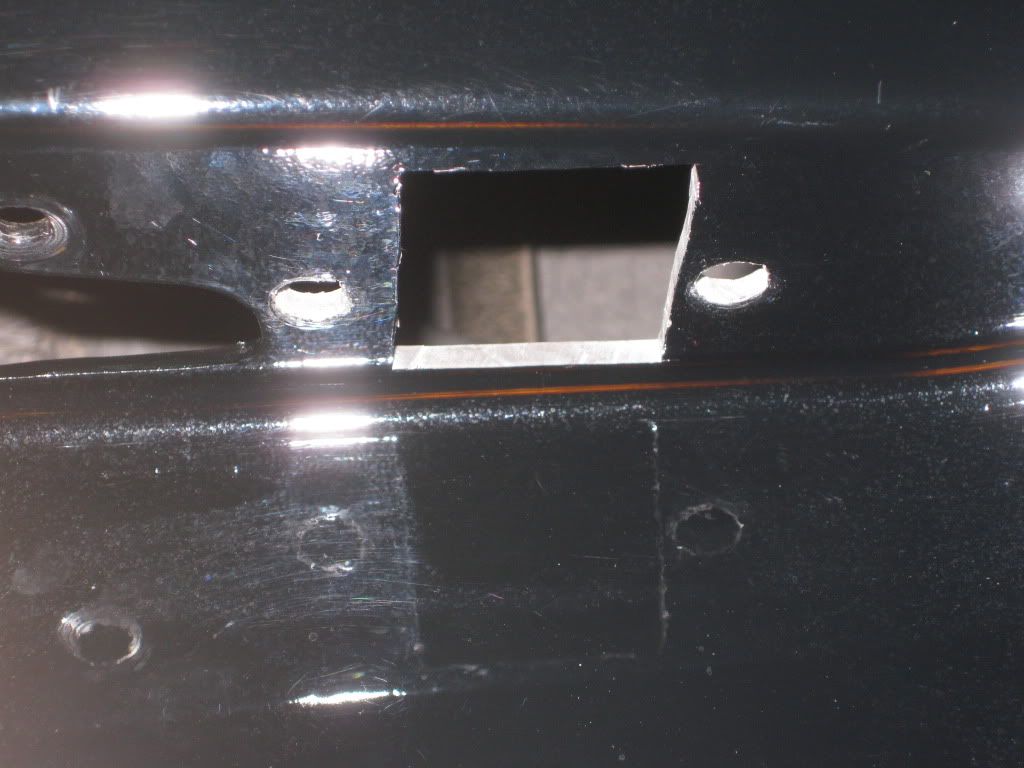
The camera is mounted on the passenger side of the license plate. I was contemplating the driver side but I saw a bunch of new Lexus and BMW with the camera on the passenger side (in the past I saw them on the driver side). Anyways, I figure I might be able to see the curb on the passenger side when I back into so this might be good. On the C6 you cannot mount them in the middle of the since that is where the key and hatch unlock button are located.
For the mounting hardware I used some clips that came with my 6.5 components set. For cutting the plastic hole I used a knife. Standing a couple feet away you barely notice it's there. The camera resolution is extremely sharp. As for the black corners you see on the monitor, those are actually part of the car's bumper caught by the side angle lenses. I'm very happy with the results.


The last thing I did was installing the rearview camera. Originally I was thinking about one of those license plate camera but I changed my mind and wanted something more OEM. So this is what I did.
The camera is mounted on the passenger side of the license plate. I was contemplating the driver side but I saw a bunch of new Lexus and BMW with the camera on the passenger side (in the past I saw them on the driver side). Anyways, I figure I might be able to see the curb on the passenger side when I back into so this might be good. On the C6 you cannot mount them in the middle of the since that is where the key and hatch unlock button are located.
For the mounting hardware I used some clips that came with my 6.5 components set. For cutting the plastic hole I used a knife. Standing a couple feet away you barely notice it's there. The camera resolution is extremely sharp. As for the black corners you see on the monitor, those are actually part of the car's bumper caught by the side angle lenses. I'm very happy with the results.
01-30-2010, 11:02 PM
#52
Racer

Member Since: Dec 2009
Location: Mandeville LA
Posts: 291
Likes: 0
Received 0 Likes
on
0 Posts
As for the Madvette box, I do not quite understand what you're referring to. I thought the box is already sealed. I see glue inside the box so just assumed it's sealed. If you haven't order the Madvette box or anything else from them. I suggest you get it from someone else. They have the worse customer service and the slowest shipping time ever.
02-01-2010, 09:56 AM
#53
Racer
Member Since: Aug 2008
Location: Sterling Heights MI
Posts: 402
Likes: 0
Received 0 Likes
on
0 Posts
This thread has got to be one of the most detailed step-by-step threads ever.
Glad everything turned out perfect, and I thank you for sharing your thoughts and experience with us.
I LOVE that rear camera install as well. VERY OEM-like.
Makes me wanna do a whole new audio installation this spring.
Dan
Glad everything turned out perfect, and I thank you for sharing your thoughts and experience with us.
I LOVE that rear camera install as well. VERY OEM-like.
Makes me wanna do a whole new audio installation this spring.
Dan
02-02-2010, 01:20 AM
#54
Racer
Thread Starter
http://www.4080enclosures.com/shop40...sp?idProduct=8
Also ask your local stereo installers. I did not know about this option until after I ordered my box. Finally check the used parts section.
As for my speaker plates I got them here:
http://nakidparts.com/id28.html
They were literally shipped the next day and I got it within 2 days. Now that's service.
This thread has got to be one of the most detailed step-by-step threads ever.
Glad everything turned out perfect, and I thank you for sharing your thoughts and experience with us.
I LOVE that rear camera install as well. VERY OEM-like.
Makes me wanna do a whole new audio installation this spring.
Dan
Glad everything turned out perfect, and I thank you for sharing your thoughts and experience with us.
I LOVE that rear camera install as well. VERY OEM-like.
Makes me wanna do a whole new audio installation this spring.
Dan
As for the sound system, I'm beginning to fine tune her and the results are very encouraging. I love my new system. Everything sound so good!
02-04-2010, 07:58 AM
#55
Burning Brakes


Sweet! This ought to be a sticky! Very nice job. I loved installing my system, too. Since my C6 is a DD, no opportunity to spend 4 weeks to do everything - I wouldn't be able to get to work!!! LOL.
RMX
RMX
02-04-2010, 02:46 PM
#56
Heel & Toe
Member Since: Feb 2010
Location: Fairfield California
Posts: 17
Likes: 0
Received 0 Likes
on
0 Posts
I have a question. I'm installing a Kenwood Excelon DNX9140 Nav system to replace my stock Bose Nav, Curently the Bose Nav displays in my HUD. Can I hook my new Aftermarket Nav sys up to my HUD? This is on a 2006 Z51.
 02-04-2010, 08:21 PM
#58
Heel & Toe
Member Since: Feb 2010
Location: Fairfield California
Posts: 17
Likes: 0
Received 0 Likes
on
0 Posts
That sucks, But Thank You for the info. It�s not an option I use much, in fact I've only used it maybe 4 times. But I like having options. So I had to ask. I have another ?. What wire harness would you recommend? I'm not keeping anything from the Bose system. New Nav unit, Amps, Component Speakers, And Subs.
02-04-2010, 09:21 PM
#59
Heel & Toe
Member Since: Feb 2010
Location: Fairfield California
Posts: 17
Likes: 0
Received 0 Likes
on
0 Posts
I have another quick question for MS04. Where did you get that dash kit? It almost looks factory. The one I was thinking about buying looks like dark w/ rough texture at best buy.
02-04-2010, 10:52 PM
#60
Tech Contributor
If you don't have or don't want to keep OnStar, get the GMCO (recently changed to C2R-GM24).
With onstar you need both GMAH24 and GMAHCM.
This thread details all of the parts you need, and this one shows you what to do with them.
With onstar you need both GMAH24 and GMAHCM.
This thread details all of the parts you need, and this one shows you what to do with them.

